I used to skip breakfast three or four mornings a week because the idea of dragging out a big blender, filling it, cleaning all those parts, and then finding somewhere to put it again felt like too much before 7 a.m. I have a galley-style kitchen in a two-bedroom apartment and my counter space is roughly the size of a card table. A full-size blender was out of the question. It sat on top of the refrigerator for eight months and came down exactly twice.
If that sounds familiar, the problem is not you and it is not smoothies. The problem is the wrong tool for the space. Most blender advice assumes you have a sprawling kitchen with a dedicated appliance corner. In a small apartment, you need a blender that does one job well, takes up almost no counter room, and cleans up in under two minutes. The NutriBullet 600W is that blender. Once I figured out a simple setup routine, I went from skipping breakfast to blending something five mornings a week. Here is the exact process I follow, step by step.
If counter clutter is killing your breakfast routine, this is the fix.
The NutriBullet 600W takes up less space than a coffee mug, blends frozen fruit in under 30 seconds, and the cup is your glass. No extra dishes. Check today's price on Amazon.
Amazon Check Today's Price on Amazon →Step 1: Pick the Right Blender for a Small Kitchen
Before you can nail a routine, you need equipment that works with your space instead of against it. A full-size blender pitcher is roughly nine inches wide at the base. The NutriBullet 600W base is about three and a half inches across. That difference sounds small until you are trying to fit it next to a dish rack and a paper towel holder on a counter that is only eighteen inches deep.
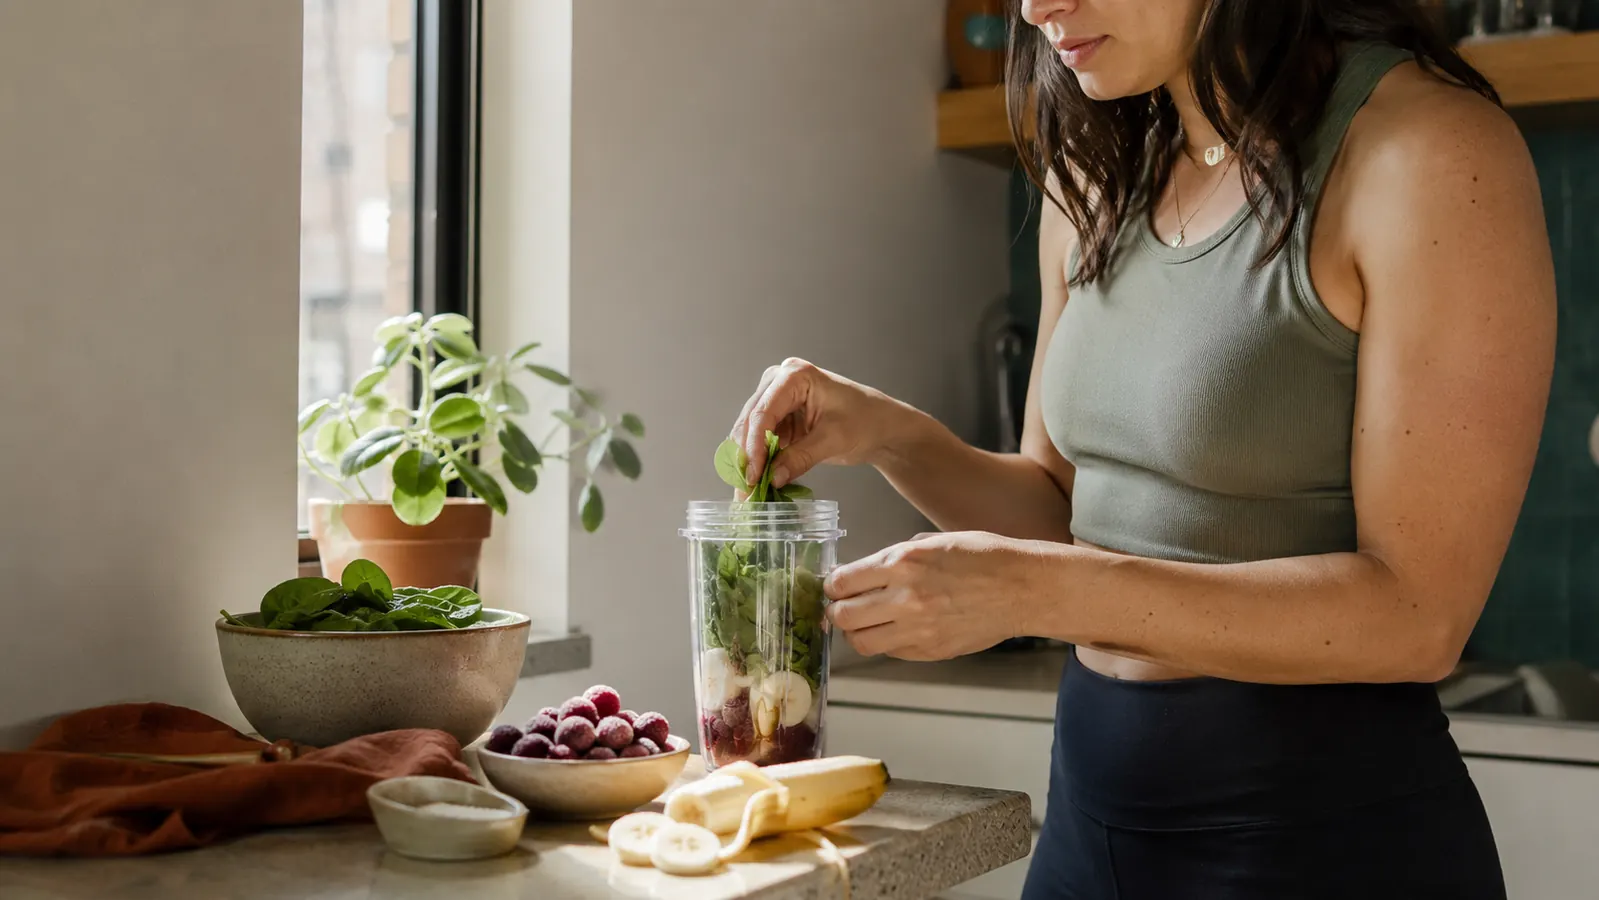
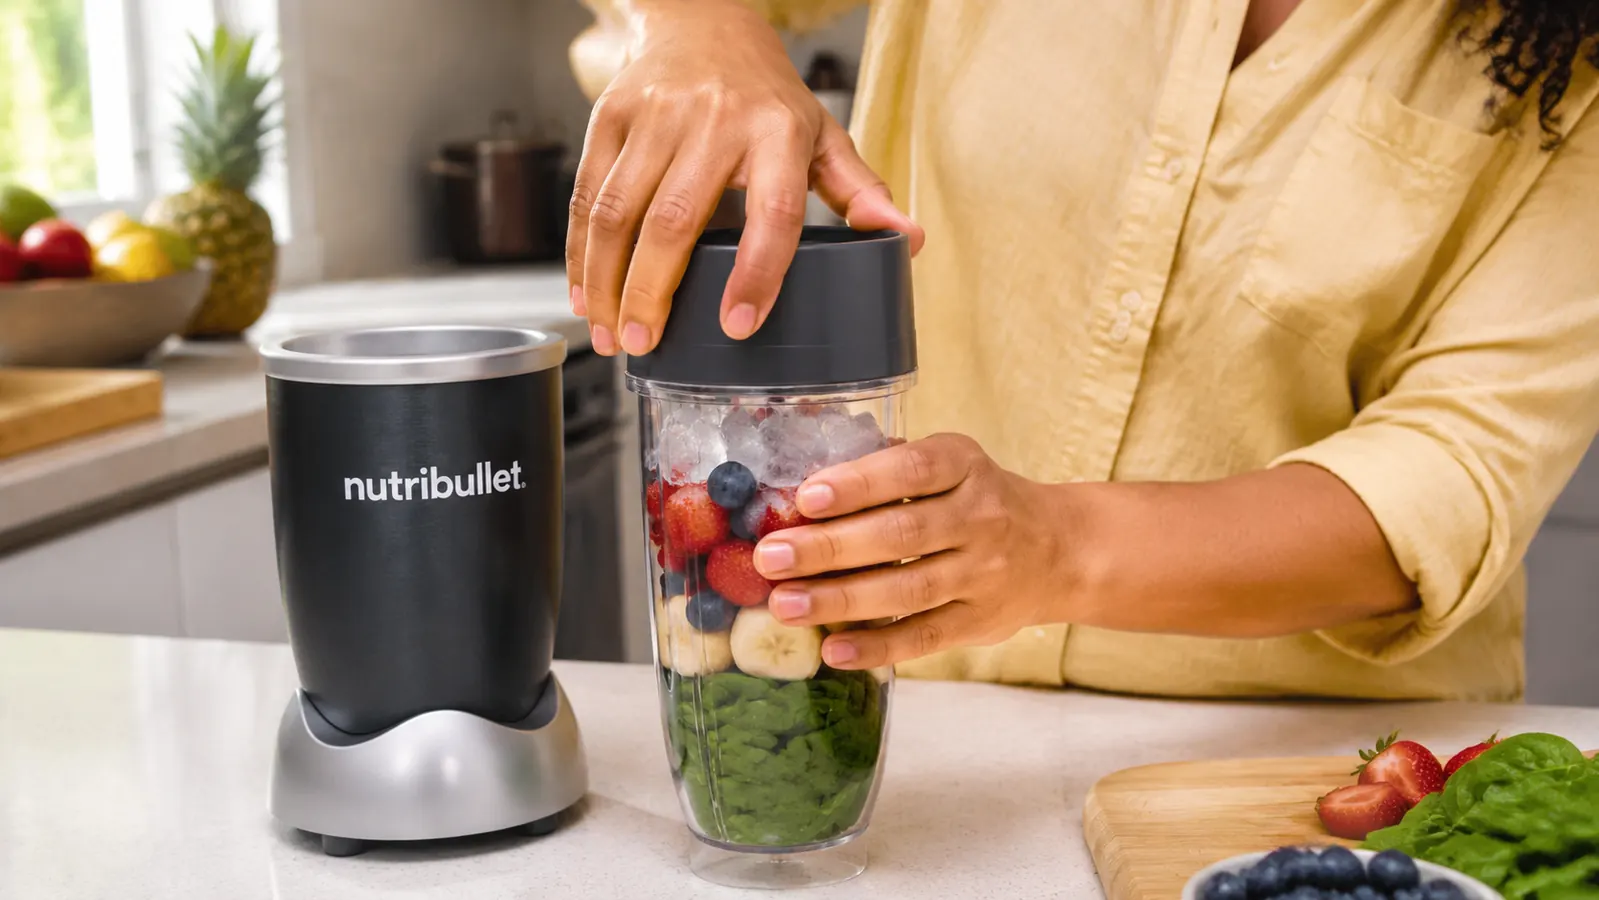
The 600W motor is strong enough to handle frozen fruit, raw spinach, kale, and ice without the engine struggling or leaving chunks behind. I blend a cup of frozen mango, a handful of spinach, half a banana, and almond milk almost every morning and it is smooth in about twenty seconds. The 24-ounce cup blends and drinks from the same container, which means zero pitcher to wash. You unscrew the blade base, rinse the cup, and you are done.
If you are weighing whether the NutriBullet is worth it compared to cheaper options, I go deep on that in my full NutriBullet 600W review. The short version: the blade quality and motor longevity are noticeably better than what you get from machines in the $25 to $35 range, and in daily use that gap matters. You can also compare it head-to-head in the NutriBullet vs Magic Bullet comparison if you are deciding between the two.
Step 2: Set Up a Permanent Spot (and Actually Keep It There)
The number one reason people stop making smoothies is inconvenience. If the blender lives in a cabinet, it will stay in the cabinet. The NutriBullet 600W base is small enough to live on the counter permanently without taking meaningful space. I keep mine next to my coffee maker. The footprint of both together is still smaller than what my old pitcher blender occupied alone.
Set the base in one spot and leave it there. Hang the cup on a small hook or keep it upside down on a dish rack beside the base. When the blender is already out and assembled, the activation energy to make a smoothie drops to almost nothing. You are not setting anything up. You are just grabbing ingredients and going.
If your counter truly has no room, the NutriBullet base can sit on top of a mini shelf riser above the counter area, or on a small pull-out tray if your cabinets have them. The point is permanent placement. Every time it goes back in a cabinet, your smoothie habit gets fragile.
Step 3: Prep Your Ingredients in Advance
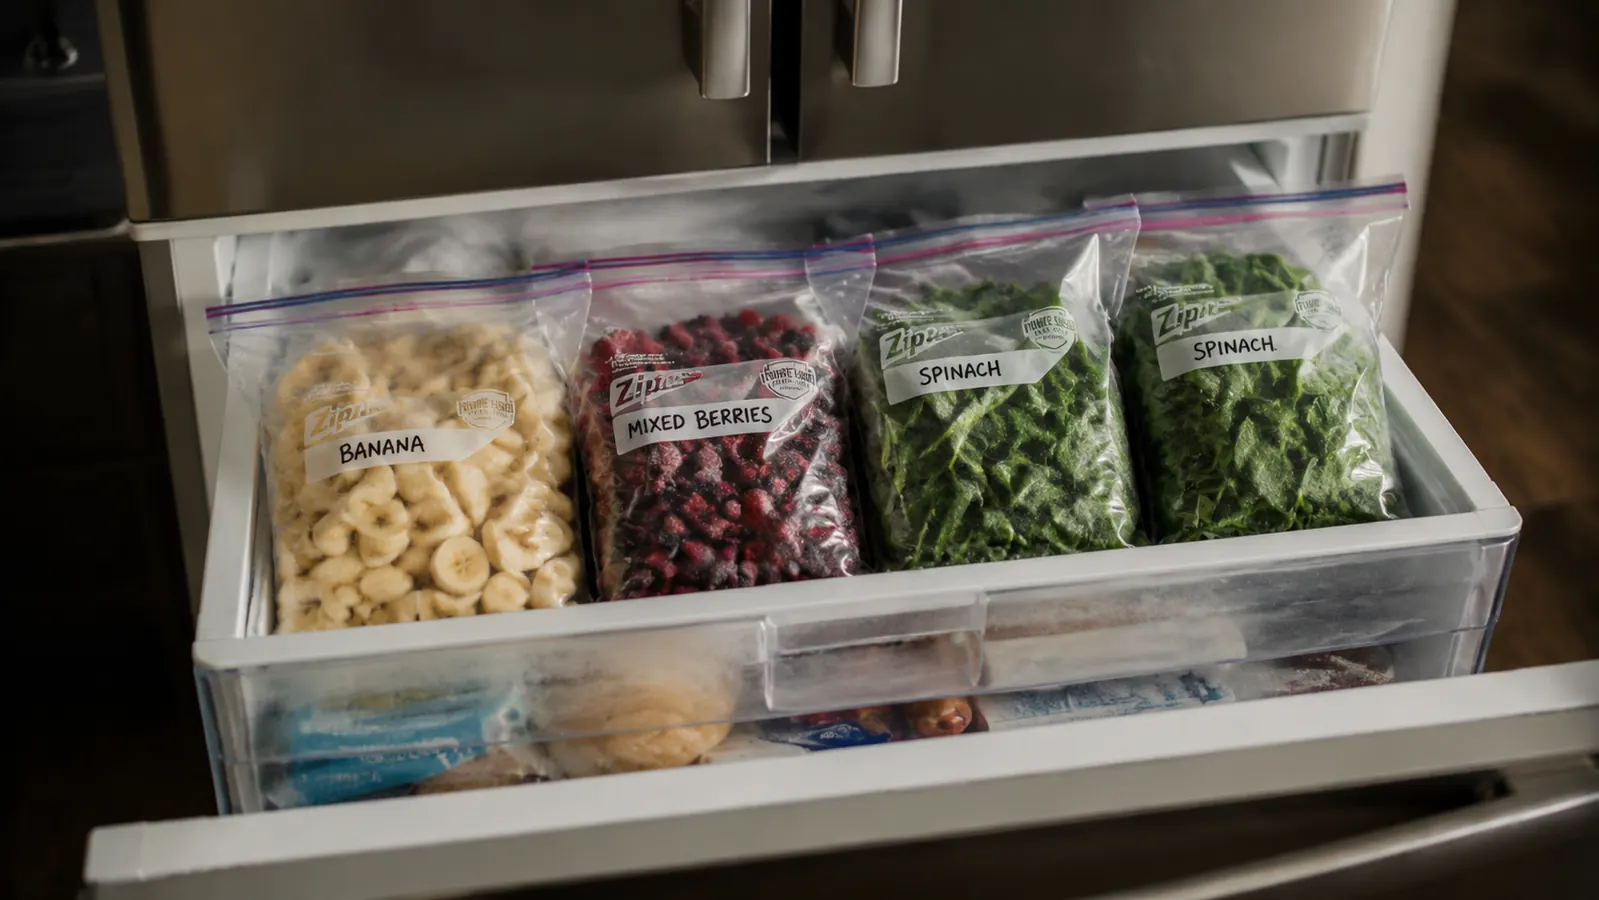
This step alone is what separates people who actually blend consistently from people who mean to. On Sunday evening or whenever you do your grocery shopping, spend about fifteen minutes portioning your smoothie ingredients into individual zip-lock bags or small silicone bags. One bag per smoothie. Store them flat in the freezer.
Each bag should have your frozen fruit already measured out, any greens you want to add (spinach freezes fine and you will not taste it in a fruit smoothie), and anything else that is not liquid. In the morning, you open the freezer, pull one bag, dump it into the NutriBullet cup, add liquid (milk, almond milk, water, juice), and blend. The entire process from freezer to glass takes under three minutes including cleanup. That is faster than most people spend waiting for a breakfast sandwich to microwave.
Prepping five bags at once takes about the same time as prepping one. It sounds like a meal-prep commitment but it is really just fifteen minutes once a week. Once you have this system running, you will wonder why you ever bothered buying individual smoothie pouches at the grocery store.
Step 4: Follow a Dead-Simple Blending Routine
Here is the exact order I do it every morning, because order matters when cleanup time is a factor. First, add the liquid to the cup before the frozen ingredients. Putting liquid in first protects the blade and helps everything spin freely from the start. I do about eight to ten ounces of liquid for a 24-ounce cup.
Second, dump in your pre-portioned bag of frozen ingredients. Screw on the blade base firmly. Flip the cup onto the base, press down, and blend for twenty to thirty seconds. Longer than that and you are wasting time, the NutriBullet moves fast. Third, flip the cup back up, unscrew the blade, and either add a sip lid (it comes with one) or drink straight from the cup. You are done blending.
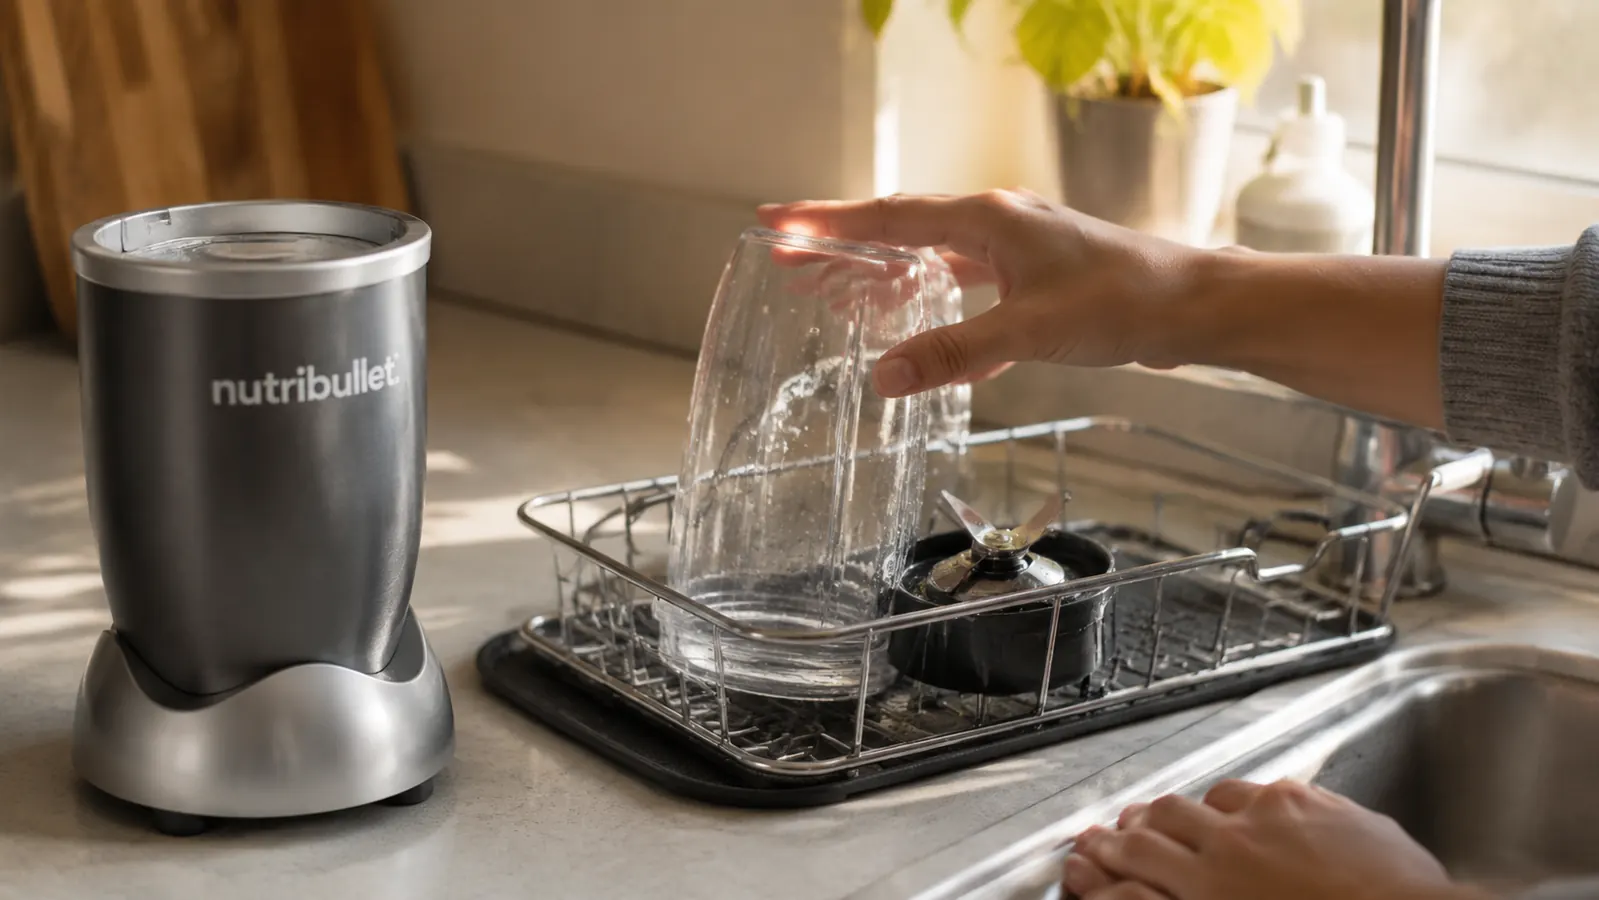
For cleanup, immediately rinse the blade base under warm water and set it face down on the dish rack. Add a small squirt of dish soap to the cup, fill it halfway with warm water, screw the blade back on, pulse it for five seconds, and rinse. The whole cleanup takes about sixty seconds. This is what makes the NutriBullet genuinely apartment-friendly in a way that a traditional blender is not.
Once you have five pre-portioned bags in the freezer and the blender sitting out on the counter, making a smoothie takes less time than making toast. That is the whole system.
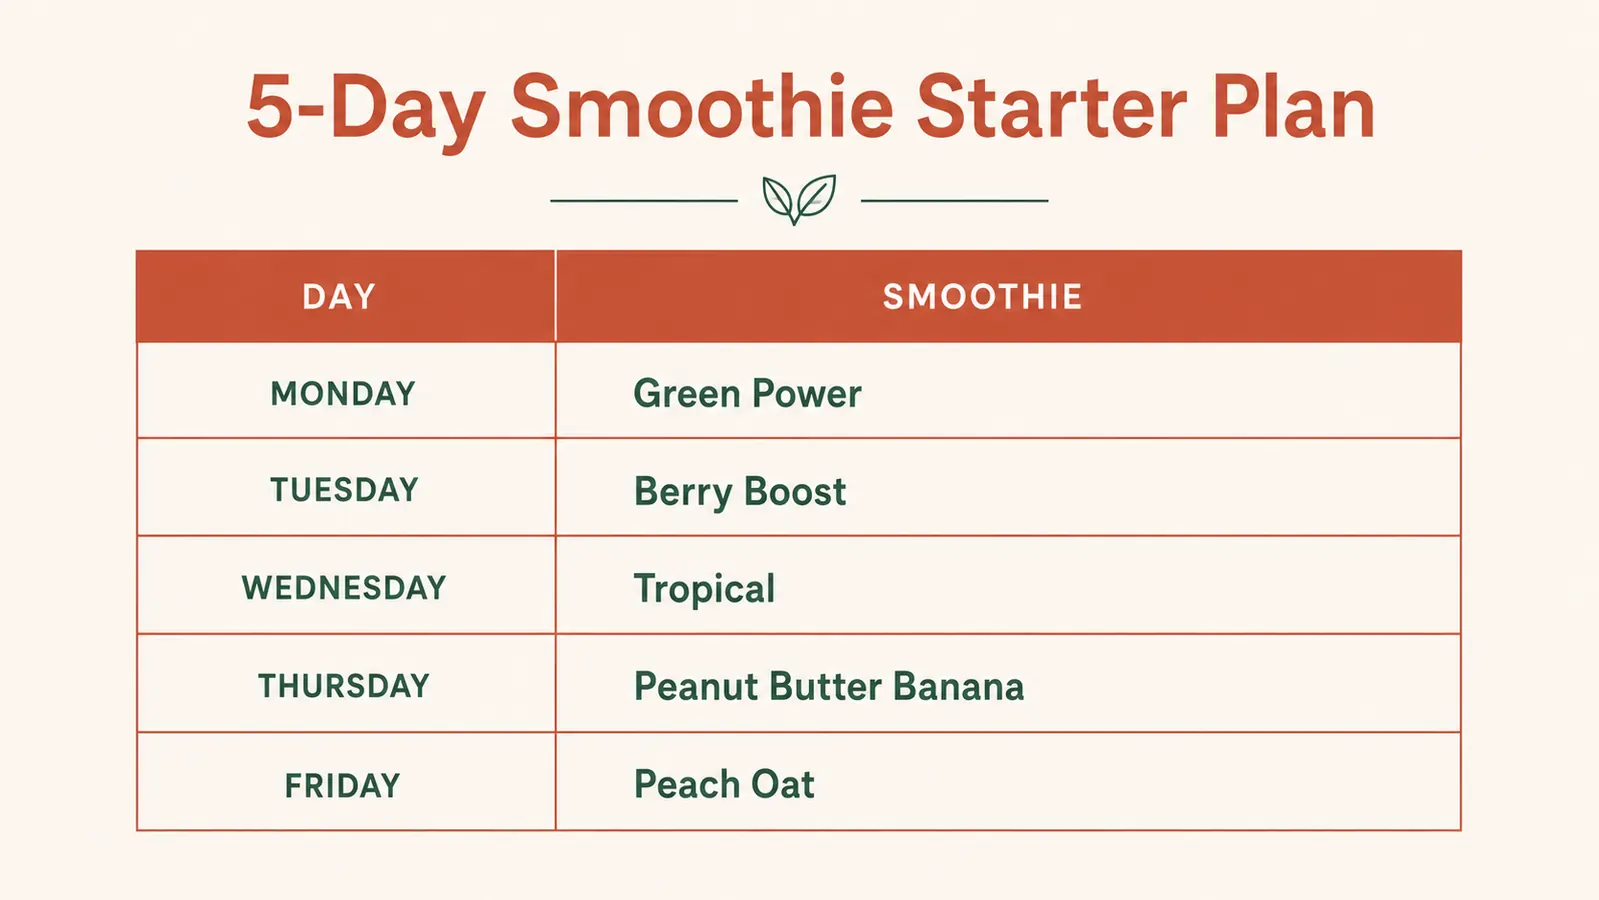
Step 5: Use the 5-Day Starter Plan to Build the Habit
A habit does not form because you have the right appliance. It forms because you repeat something enough times that it becomes automatic. Here is a five-day starter plan to get you through the first week, which is where most people drop off. After five days in a row, it sticks.
Monday: Green Power. Handful of spinach, one banana (sliced and frozen), one cup frozen mango, one cup almond milk. Tuesday: Berry Boost. One cup frozen mixed berries, half a banana, one cup milk of your choice, one tablespoon honey if you want it sweeter. Wednesday: Tropical. One cup frozen pineapple, half a cup frozen mango, juice of half a lime, one cup coconut water. Thursday: Peanut Butter Banana. One frozen banana, two tablespoons peanut butter, one cup milk, a pinch of cinnamon. Friday: Peach Oat. One cup frozen peaches, one quarter cup rolled oats, one cup milk, one teaspoon vanilla.
Prep all five bags the Sunday before. By Friday morning you will be blending on autopilot. Each of these takes under three minutes from freezer to glass. If any of these becomes a regular favorite, scale it up and add multiples to your weekly prep. The system does not change, only the ingredients do.
What Else Helps
A few small things make this routine even smoother. First, keep a bag of frozen spinach on hand permanently. It is cheap, it blends invisibly into fruit smoothies, and it adds nutrition without changing the taste. Second, buy bananas in bulk when they are ripe, slice them, and freeze them on a baking sheet before transferring to a bag. Frozen banana makes every smoothie creamier without adding ice, which can water down the flavor. Third, keep your liquid of choice in the refrigerator door where it is always easy to grab. The fewer steps between waking up and having a smoothie in your hand, the more likely you are to actually make one.
If you want to understand more about why a personal blender outperforms a full-size model for apartment cooking, take a look at the 10 reasons a personal blender beats a full-size model. The space savings alone are significant, but there are practical advantages that go beyond footprint.
One thing to be realistic about: if you are hoping to blend large batches for the whole family at once, a personal blender is not the right tool. The 24-ounce cup makes a single serving, maybe a generous serving for two. For a family of four, you would need to blend multiple rounds. For one or two people, or for making your own morning smoothie ahead of anyone else wakes up, it is perfect.
The NutriBullet 600W is the simplest way to start a smoothie habit in a small kitchen.
Over 49,000 reviewers agree it punches well above its size. It stores easily, cleans in under a minute, and the 600W motor handles frozen fruit, greens, and ice without complaint. Check current pricing on Amazon before you stock your freezer.
Amazon Check Today's Price on Amazon →